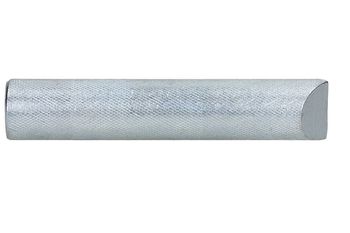
R-ITS-A4 Invändigt gängad hylsa för keminfästning rostfri A4
Invändigt gängad hylsa för att fästa gängstag. ETA godkänd vid använding av Epoxymassa.


Funktioner och fördelar
- Ger enkel demontering
- Klarar höga laster
- Små kant- och inbördes avstånd
- Orsakar ingen spänning i materialet
- Finns i elförzinkat- och i rostfritt stål
Produktbeskrivning
Storlek |
Artikel |
Infästning |
Fastsatt material |
||
Hylsdiameter |
Längd |
Intern gänglängd |
Håldiameter |
||
d |
L |
lg |
df |
||
[mm] |
[mm] |
[mm] |
[mm] |
||
M6 |
R-ITS-A4-06075 |
10 |
75 |
24 |
7 |
M8 |
R-ITS-A4-08075 |
12 |
75 |
25 |
9 |
R-ITS-A4-08090 |
12 |
90 |
25 |
9 |
|
M10 |
R-ITS-A4-10075 |
16 |
75 |
30 |
12 |
R-ITS-A4-10100 |
16 |
100 |
30 |
12 |
|
M12 |
R-ITS-A4-12100 |
16 |
100 |
35 |
14 |
M16 |
R-ITS-A4-16125 |
24 |
125 |
50 |
18 |
Grundmaterial
-

Icke sprucken betong C20/25-C50/60
Ansökningar
- För fastsättning av bultar
- Skyddsbarriärer
- Tillfälliga montage
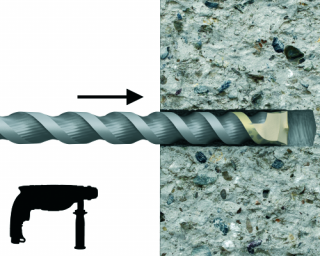
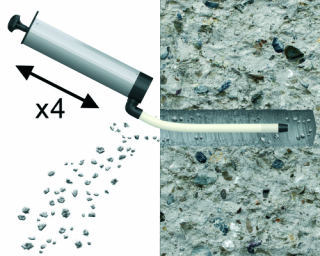
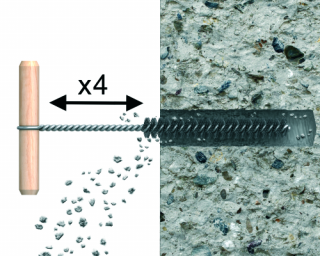
Installations guide för

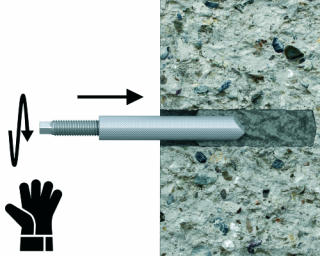

- Efter att man fyllt hålet med massa så ska man direkt montera infästningen, detta görs genom att man pressar in den samtidigt som man vrider den.
- Ta bort överflödig massa.
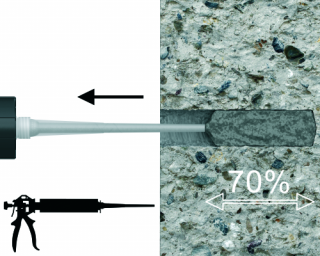
- Fyll hålet med rekommenderad mängd.
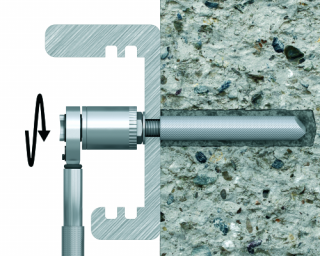
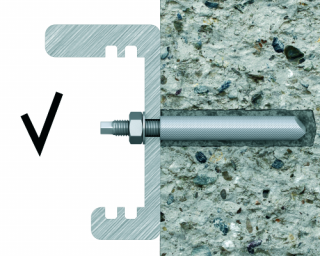
- Sätt fixturen på plats och dra åt muttern med angivet åtdragningsmoment.
